Die installering van aluminiumdekking: 'N Professionele gids
Die installering van aluminiumdekking: 'N Professionele gids
Aluminum decking is a popular choice for homeowners due to its durability, Lae onderhoud, en gladde voorkoms. If you’re planning to install aluminum decking yourself, follow these steps to ensure a professional result:

1. Prepare the Decking Area
Start by clearing the deck area and removing any existing decking or materials. Ensure that the surface is clean, vlak, and free from debris. If needed, make any necessary repairs to the underlying structure before proceeding.
2. Measure and Cut the Aluminum Decking
Measure the dimensions of your deck and carefully cut the aluminum decking boards to fit. Use a miter saw or circular saw with a fine-toothed blade for precise cuts. Remember to wear safety goggles and gloves during this step.

3. Install the Aluminum Decking
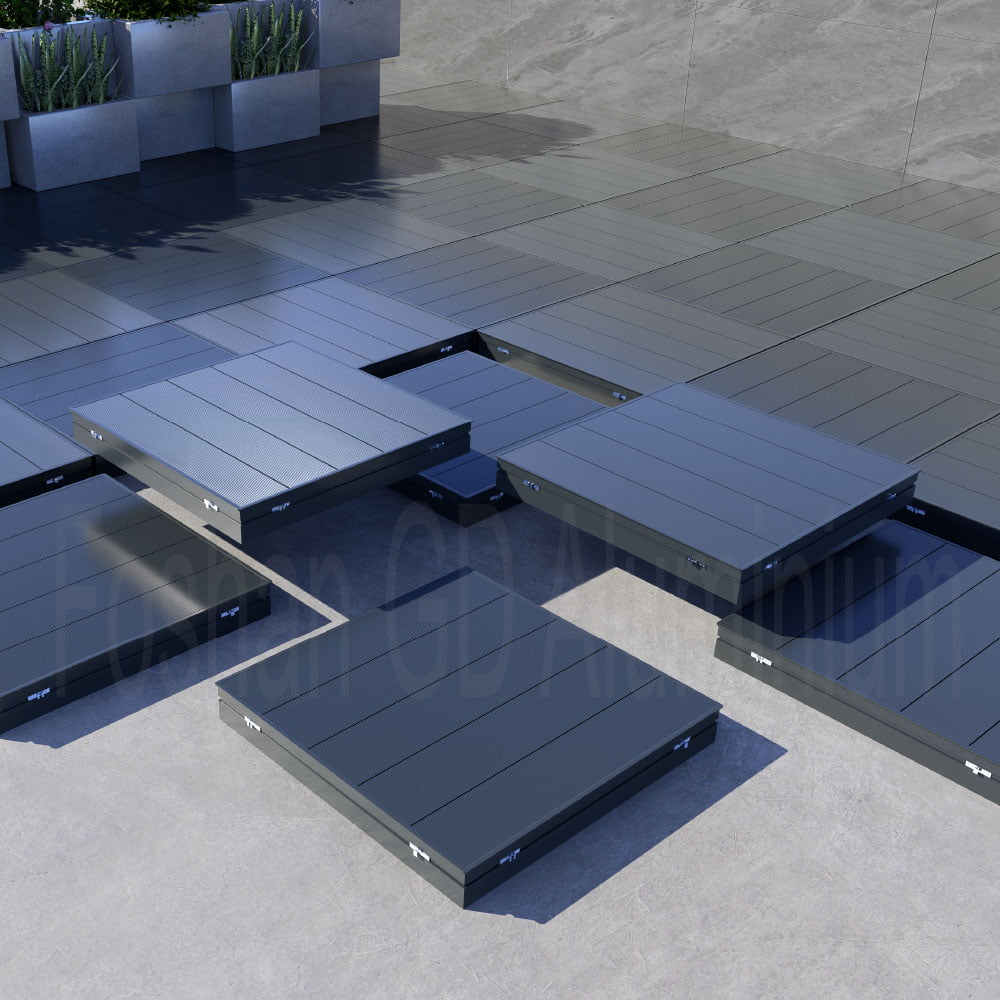
Begin by attaching the first board to the deck frame using stainless steel screws or hidden fasteners. Make sure to leave a small gap between each board to allow for expansion and contraction. Continue installing the remaining boards, ensuring they are aligned and securely fastened.
4. Secure the Edges
Once all the decking boards are in place, secure the edges with aluminum fascia or trim pieces. This will give your deck a polished and finished look while also protecting the edges from moisture and wear.
5. Afronding
Uiteindelik, inspect the entire deck for any loose screws or sharp edges. Use a file or grinder to smooth out any rough edges. Clean the deck thoroughly and apply a protective coating or sealant to enhance its longevity.

Deur hierdie stappe te volg, you can install aluminum decking like a pro. Enjoy your new deck and its many benefits for years to come!


