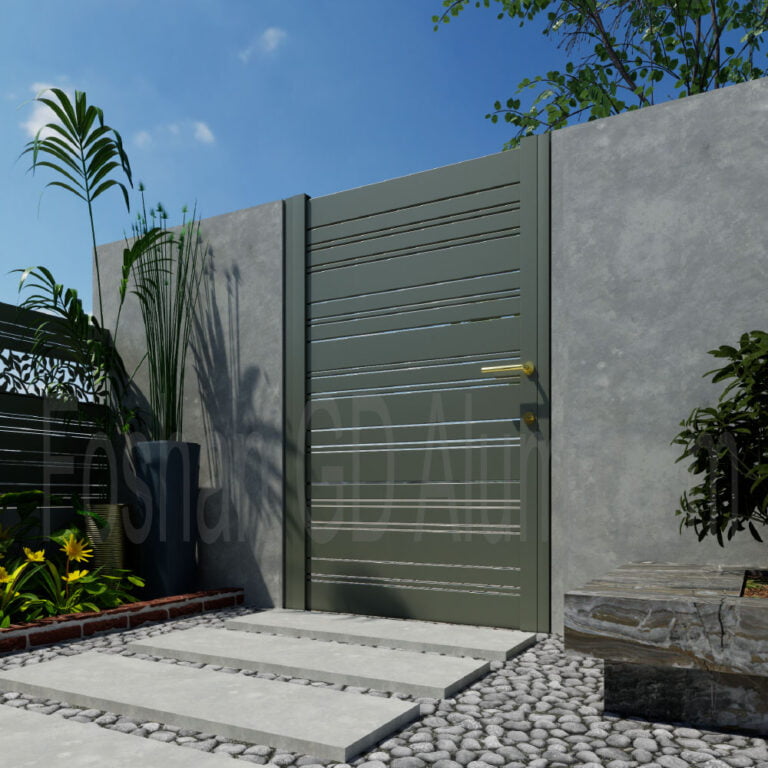
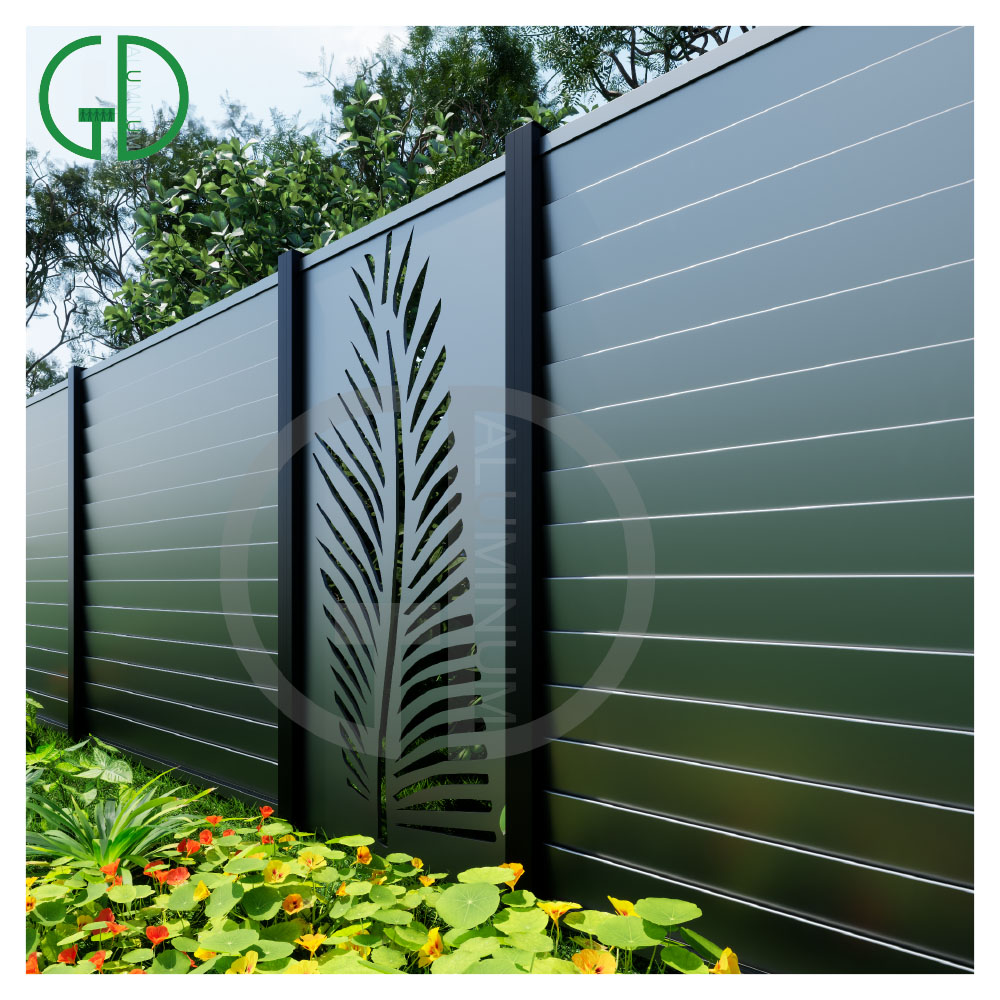
Guía de instalación de vallas de privacidad: 8 Pasos probados para una recta, Valla probada contra el viento
Guía de instalación de vallas de privacidad: 8 Pasos probados para una recta, Valla probada contra el viento
Si instalas vallas para ganarte la vida, Ya sabes, los paneles de privacidad castigan los atajos.. Una verificación de alineación omitida aparece como una línea de visión ondulada, una puerta vinculante, o un panel que traquetea en la primera tormenta. El guía de instalación de vallas de privacidad A continuación se muestra la secuencia que entregamos a los equipos de instalación que trabajan con nuestros sistemas de cercas y puertas de aluminio..
Hemos mantenido esta guía de instalación de vallas de privacidad honesta a propósito.. No inventamos profundidades de empotramiento, alturas de los paneles, o valores de código de viento, porque dependen de su código local y de las condiciones del sitio. Cuando un número es específico del proyecto, te decimos exactamente con quién confirmarlo.
En esta guía: Evaluación del sitio · Privacidad vs carga de viento · Selección de publicación y conexión. · Pendientes y terreno irregular. · Material, revestimiento y hardware · Secuencia paso a paso · Inspección y entrega · Riesgos de mantenimiento y fallos. · Cuando se necesita soporte OEM/ODM · Lista de verificación de auditoría de proveedores. Poco tiempo? Vaya directamente a los seis documentos que debe solicitar antes de firmar.
¿Qué debe verificar en el sitio antes de publicar la primera publicación??
La evaluación del sitio decide todo lo que sigue. Líneas de servicios públicos, límites de propiedad, drenaje, suelo, y las obstrucciones aéreas cambian dónde pueden ir los postes y cómo se debe construir la cerca.. Camine por la línea completa antes de marcar un solo hoyo..
En nuestras reseñas de fábrica., Pedimos a los clientes un plano del sitio en lugar de solo una cerca en una foto.. La misma disciplina se aplica en el sitio.: confirmar el límite, localizar servicios enterrados, y observe los puntos bajos donde el agua se acumula. El suelo blando o húmedo cambia el diseño de la base, Así que regístrelo antes de realizar el pedido..
Las normas de construcción locales también pueden imponer requisitos de altura., revés, o relleno. No adivinamos estos; compruébelos con la autoridad que gobierna su sitio antes de que comience la fabricación..
¿Cuánta privacidad se puede pedir sin sobrecargar la carga del viento??
Una valla de privacidad es una vela. El relleno sólido bloquea las líneas de visión, pero también le da al viento una superficie plana para empujar, y la fuerza crece rápidamente con la altura y la exposición del panel. Cuanta más privacidad especifiques, Cuanto más cuidadosamente se debe diseñar la estructura.
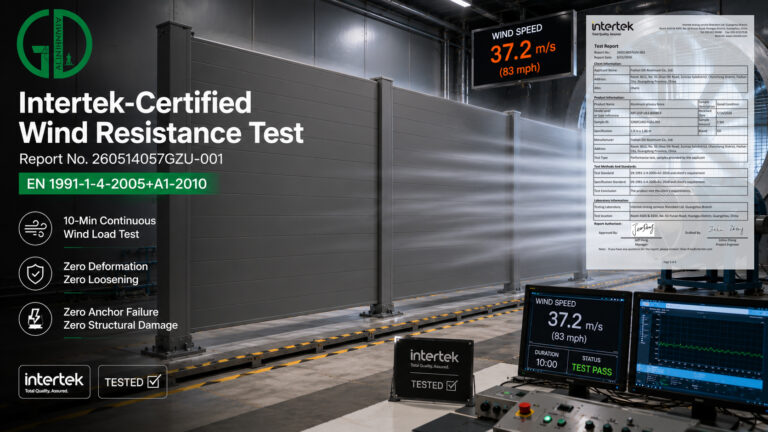
Nuestros sistemas de vallas y portones están certificados por Intertek para 510 Resistencia a la carga de viento en N/m² mediante pruebas de simulación dinámica. Ese sobre certificado cubre combinaciones de paneles y postes., y cada opción de privacidad debe caber dentro de él. Vea nuestro estándares de ingeniería de carga de viento por cómo lo aplicamos.
| Opción de relleno de privacidad | Nivel de privacidad | Demanda eólica | Nota de instalación |
|---|---|---|---|
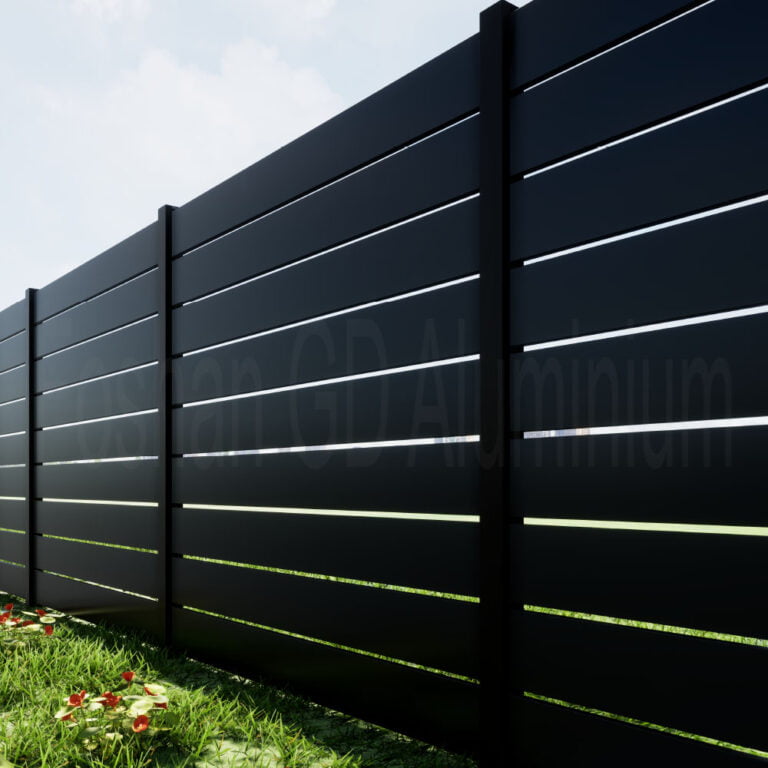
| Panel de chapa maciza | Máxima privacidad | Más alto: toda la superficie atrapa el viento | Confirme el relleno con el sobre certificado antes de realizar el pedido. |
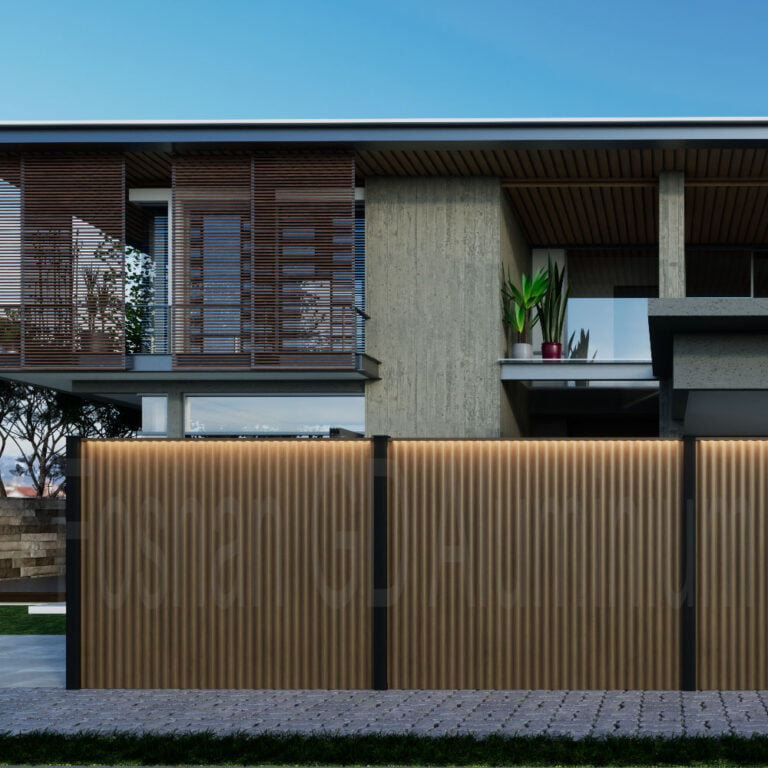
| rejilla horizontal | Alta privacidad con flujo de aire | Medio: las rejillas rompen la superficie | Corregir el espacio de las rejillas según el dibujo., no a ojo |
| Listones con huecos | Privacidad parcial | Más bajo: los espacios dejan pasar el viento | Mantenga el patrón de espacios constante a lo largo del recorrido |
| Panel perforado | Cribado más flujo de aire | La más baja de las opciones sólidas | Verifique la relación de perforación con los datos de viento del proyecto. |
Cuando trabajamos con clientes, Siempre revisamos la proporción de relleno., espaciado entre publicaciones, y altura del panel contra el 510 N/m² envolvente antes de cotizar. Si un diseño lo supera, Cambiamos la configuración en papel en lugar de descubrir el problema después de la instalación..
¿Qué opción de publicación y conexión mantiene los paneles cuadrados en su sitio??
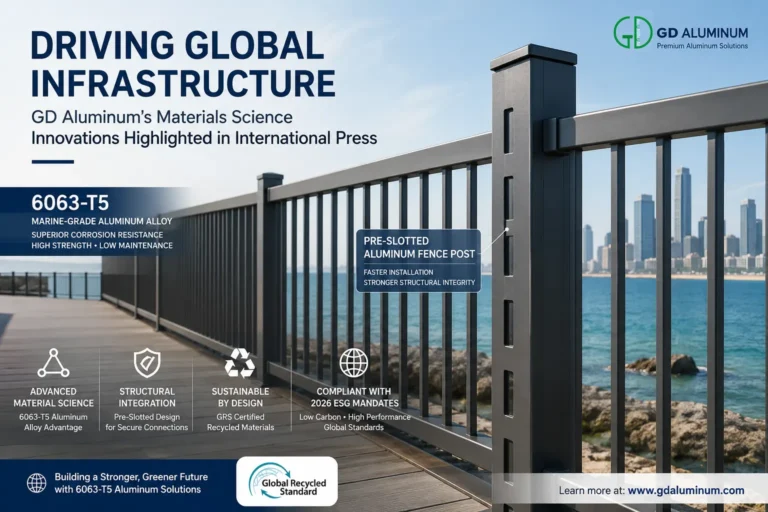
Los postes soportan la carga del viento y establecen la geometría., entonces la selección de publicaciones viene antes que la selección del panel. Construimos postes y paneles en aluminio 6063-T6., una aleación de grado aeroespacial que equilibra la resistencia con la limpieza, extrusión precisa para puntos de conexión consistentes.
El hardware de conexión es tan importante como la propia publicación. Placas base, paréntesis, y las fijaciones ocultas deben coincidir con la sección del poste y la carga del panel., y cada conexión debe ser la que se muestra en el dibujo., no es el sujetador más cercano en el camión.
Solicite a la fábrica los detalles de conexión por escrito antes de realizar el pedido.. Un poste que sirve para una cerca abierta puede ser de tamaño insuficiente para un panel de privacidad total con el mismo espacio, y esa decisión pertenece a la ingeniería, no en la plataforma del camión.
¿Cómo se mantiene recta una valla de privacidad en pendientes y terrenos irregulares??
Las pendientes son donde las vallas de privacidad se ven mal más rápidamente. Los paneles escalonados para seguir el suelo mantienen las líneas de visión honestas, mientras que forzar una línea nivelada a través de una pendiente pronunciada crea espacios o paneles enterrados. Decide el enfoque en cada sección antes de cortar cualquier cosa..
En terreno irregular, medir la caída en cada posición de poste en lugar de asumir una pendiente constante. El terreno rara vez coopera en línea recta., por lo que una lectura por publicación detecta las sorpresas temprano y mantiene los rieles nivelados a lo largo del recorrido..
Cuando el grado es agresivo, Es posible que sea necesario ajustar la conexión del poste al panel y el patrón de relleno.. Envíanos el perfil del sitio con tus dibujos.; Nuestro equipo OEM/ODM revisa la configuración antes de la producción para que la instalación siga siendo manejable..
¿Por qué hacer materiales?, Revestimiento, y la compatibilidad del hardware son importantes en el momento de la instalación?
Los fallos de compatibilidad aparecen años después de la instalación, y siempre empiezan poco a poco. Metales diferentes en contacto provocan corrosión galvánica, y el daño del recubrimiento en los bordes cortados o en los orificios de los sujetadores le da a la humedad un lugar para comenzar su trabajo..
Nuestro recubrimiento en polvo arquitectónico cumple AMAMA 2604 o AAMA 2605 estándares y pases 2,000 horas de prueba de niebla salina neutra por ISO 9227. Respaldamos el final con un 10+ año de garantía del recubrimiento, y documentamos cómo leer esos informes en nuestro guía de prueba de niebla salina.
Haga coincidir los herrajes con el marco, proteger los bordes cortados en el campo, y registre cualquier daño en el revestimiento durante la instalación. Nuestro guía de materiales para cercas de zonas costeras explica cómo cada regla de compatibilidad se traduce en un rendimiento costero real.
¿Cuál es la secuencia de instalación de la valla de privacidad paso a paso??
La secuencia a continuación es el orden que recomendamos a los equipos de instalación.. Mantiene la geometría, conexiones, y alineación final en el orden correcto, para que los errores se detecten mientras aún sea barato solucionarlos.
- Camine por la valla y confirme los límites., utilidades, drenaje, y acceso antes de que comience cualquier trabajo.
- Marque cada posición de publicación del dibujo aprobado., y verifique que el recorrido esté cuadrado y nivelado en cada punto.
- Instale cada poste a plomo en ambas direcciones., siguiendo el diseño de la base confirmado para sus condiciones de suelo y viento.
- Montar rieles y paneles desde el punto de referencia en el dibujo., trabajando hacia afuera para que los errores permanezcan en un extremo.
- Asegure cada conexión con el hardware especificado, y verifique el torque y el compromiso a medida que avanza.
- Instale paneles y rellenos de privacidad según el dibujo., manteniendo el espaciado y la alineación consistentes.
- Verifique el recorrido completo para ver si está a plomo., nivel, línea de visión, y puerta batiente, y corregir cualquier cosa antes de terminar.
- Protege los bordes cortados y los daños en el revestimiento., limpiar el sitio, y entregar los documentos de mantenimiento y garantía..
Sigue el dibujo en cada paso.. Cuando una condición de campo no coincide con el dibujo, deténgase y resuélvalo antes de continuar, porque ese es el momento donde nacen la mayoría de los fallos de instalación.
Qué pertenece a la inspección y entrega antes de abandonar el sitio?
La inspección es una lista de verificación, ni una mirada alrededor. Vuelva a verificar la plomada y el nivel en cada poste., Camine a ambos lados de la pista para tener visibilidad., Pruebe cada movimiento de la puerta, y verifique que todo el hardware esté presente y apretado.
La entrega debe dejar al cliente con notas conforme a obra., el procedimiento de retoque del recubrimiento, la hoja de mantenimiento, y los documentos de garantía. Si nota algún daño en el revestimiento durante la instalación, grabarlo ahora, porque el retoque en el campo es más fácil que una devolución de llamada en seis meses.
Suministramos documentación con nuestros sistemas., y respondemos preguntas técnicas dentro 72 horas si surge algo después de la entrega. Una entrega por escrito lo protege tanto a usted como al cliente..
Lo que falla en las vallas de privacidad, y ¿Cómo te mantienes contra ello??
La mayoría de las fallas en las vallas de privacidad comparten la misma lista corta. Los culpables habituales son daños en el revestimiento en los bordes cortados y en los sujetadores., hardware incompatible corroído, relleno que excede la envolvente de carga de viento, y humedad atrapada contra los paneles por vegetación o escombros.
La prevención es sencilla y barata.. Enjuague la niebla salina de las instalaciones costeras, recortar la vegetación lejos de los paneles, Vuelva a apretar el hardware después de la primera temporada., e inspeccionar después de tormentas severas mientras el daño aún es local.
Cuando los paneles traquetean o se mueven, Verifique las conexiones antes de culpar al panel.. En nuestra experiencia, un soporte suelto o un sujetador fuera de especificación provoca más devoluciones de llamadas que la estructura misma.
¿Cuándo necesita realmente una instalación soporte de ingeniería OEM/ODM??
Traiga soporte de ingeniería antes de realizar el pedido cuando el sitio tenga pendientes agresivas, alturas inusuales, exposición a fuertes vientos, relleno personalizado, o una puerta dentro de la valla. Estas condiciones cambian las publicaciones., conexiones, y paneles, y es posible que un kit estándar no los cubra.
Nuestro servicio OEM/ODM abarca desde el dibujo de diseño hasta el producto terminado., Con orientación técnica durante la instalación.. El plazo de entrega de producción a granel suele ser 35 a 60 días desde la aprobación del dibujo hasta el envío, y las muestras se confirman antes de que comience el volumen. Nuestro proceso de fabricación de vallas de aluminio personalizadas camina por los pasos.
Si no está seguro de si una condición es importante, preguntar. Nuestro equipo responde a preguntas técnicas y de cotización dentro 72 horas, y preferiríamos ajustar el dibujo que explicar una corrección de campo más adelante.
Lista de verificación de auditoría de proveedores: 6 Documentos a solicitar antes de firmar una orden de compra
antes de firmar, Solicite estos seis documentos y compárelos entre proveedores.. Una fábrica que los produce rápidamente suele ser una fábrica que no tiene nada que ocultar..
- Certificado de prueba de molino — confirma la aleación 6063-T6 y el temple por lote, para que el metal coincida con el dibujo.
- Informe de prueba de carga de viento — organismo independiente nombrado y una presión declarada; mantenemos Intertek 510 N/m² para sistemas de vallas y portones.
- Informe de prueba de niebla salina — confirme que sigue ISO 9227 y anota las horas; 2,000 horas es el punto de referencia que diseñamos para.
- Declaración de cumplimiento del recubrimiento - PADRE 2604 o 2605 calificación, espesor de la película, y términos de garantía; verifica el acabado arquitectónico, no pintura comercial.
- Plano de instalación y detalles de conexión — el dibujo aprobado con correo, panel, y especificaciones de hardware, más historial de revisiones.
- Declaración de garantía y soporte — cobertura, duración, y compromiso de respuesta; nuestra ventana de soporte es 72 horas.
Esta guía de instalación de cercas de privacidad está completa cuando los documentos coinciden con el diseño y se sigue la secuencia en el sitio.. cuando estés listo, envíanos el perfil de tu sitio y dibujos, y le cotizaremos la especificación, no solo la mirada.
¿Necesitamos un permiso o una revisión de un ingeniero antes de instalar una cerca de privacidad??
Eso depende completamente de su código local., y no lo adivinaremos por ti. Altura, revés, y las reglas de relleno varían según la jurisdicción, así que confírmelos con la autoridad de construcción antes de la fabricación.. Solicite a su proveedor los documentos certificados de carga de viento y recubrimiento.; no reemplazan la aprobación local, pero hacen la revisión más rápida.
¿Podemos instalar un relleno de privacidad total en una zona costera?, sitio de fuertes vientos?
Sí, si la configuración de relleno cabe dentro del sobre certificado. Nuestros sistemas están clasificados por Intertek para 510 N/m², y revisamos el ratio de relleno, espaciado entre publicaciones, y altura frente a esa clasificación antes de la producción. Solicite el informe de carga de viento de terceros y verifique que cubra su relleno, no sólo la versión de barra libre.
¿Qué fijaciones y herrajes debemos utilizar con los paneles de aluminio??
Utilice herrajes que sean compatibles con el marco de aluminio para evitar la corrosión galvánica.. Especificamos los sujetadores y accesorios en el plano de instalación., y nuestros acabados pasan 2,000 horas de ISO 9227 prueba de niebla salina, para que los puntos de conexión permanezcan sanos. Si un proveedor no pone las especificaciones del hardware por escrito, Trátalo como una señal de advertencia..
¿Cuánto tiempo tarda la entrega de un pedido de valla de privacidad personalizada??
La producción a granel suele realizarse 35 a 60 días desde la aprobación del dibujo hasta el envío, Después de la aprobación de la muestra y la confirmación del depósito.. La revisión de ingeniería ocurre antes de que comience el reloj., y nuestro equipo responde preguntas técnicas y de cotización dentro de 72 horas durante todo el proceso.