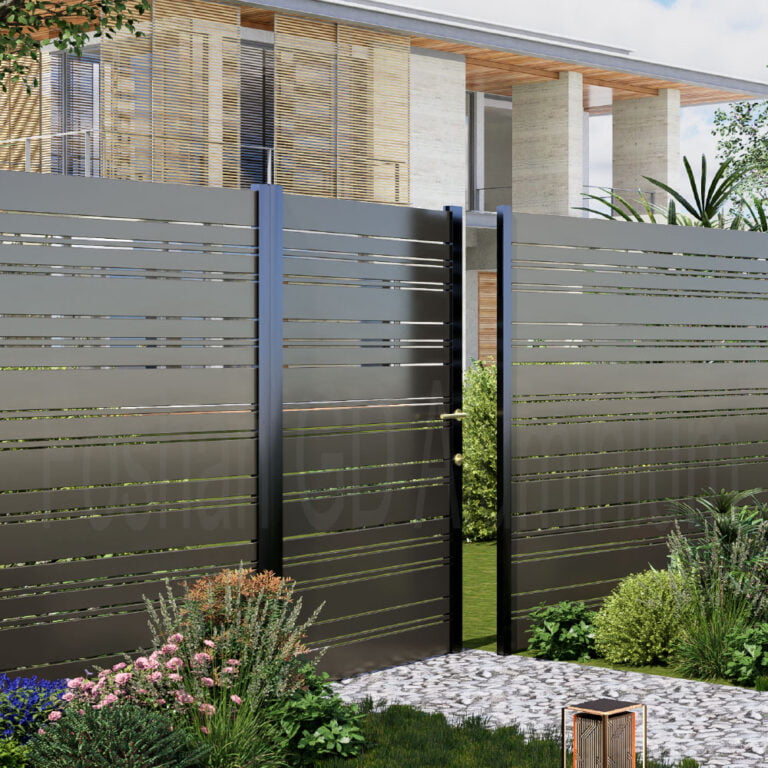
A Step-by-Step Guide to Installing an Aluminum Fence
Guide to Installing an Aluminum Fence
Installing an aluminum fence is a great way to enhance the security and aesthetics of your property. Whether you’re a DIY enthusiast or a beginner, this guide will provide you with step-by-step instructions on how to install an aluminum fence.

1. Planning and Preparation
Before you start the installation process, it’s important to plan and prepare. Begin by measuring the area where you want to install the fence. This will help you determine the amount of materials you’ll need. Next, check with your local authorities to ensure you comply with any zoning or building regulations.
2. Gathering the Materials
Once you have your measurements, it’s time to gather the necessary materials. You’ll need aluminum fence panels, posts, gate hardware, concrete mix, and tools such as a post hole digger, level, and a drill.

3. Installation Process
Start by marking the locations for your fence posts. Dig the post holes according to the manufacturer’s instructions, making sure they are deep enough to provide stability. Place the posts in the holes and fill them with concrete. Allow the concrete to dry before attaching the fence panels.
Attach the fence panels to the posts using the provided brackets and screws. Use a level to ensure the panels are straight and evenly spaced. If you’re installing a gate, follow the manufacturer’s instructions for attaching the hardware.

4. Finishing Touches
Once the fence panels are securely in place, it’s time for the finishing touches. Trim any excess material and make sure all screws are tightened. Give the fence a thorough inspection to ensure it is sturdy and level.
Conclusion
Installing an aluminum fence may seem daunting, but with the right planning and preparation, it can be a manageable project for beginners. By following this guide and taking your time, you’ll be able to install a beautiful and durable aluminum fence that will enhance the security and curb appeal of your property.


