Montaż tarasów aluminiowych: Profesjonalny przewodnik
Montaż tarasów aluminiowych: Profesjonalny przewodnik
Deski tarasowe aluminiowe są chętnie wybierane przez właścicieli domów ze względu na ich trwałość, niskie koszty utrzymania, i elegancki wygląd. Jeśli planujesz samodzielnie zamontować taras aluminiowy, wykonaj poniższe kroki, aby zapewnić profesjonalny wynik:
1. Przygotuj powierzchnię tarasową
Rozpocznij od oczyszczenia powierzchni tarasu i usunięcia istniejącego pokrycia lub materiałów. Upewnij się, że powierzchnia jest czysta, poziom, i wolne od zanieczyszczeń. Jeśli potrzeba, przed kontynuowaniem dokonaj wszelkich niezbędnych napraw podstawowej konstrukcji.
2. Zmierz i przytnij taras aluminiowy
Zmierz wymiary tarasu i ostrożnie przytnij aluminiowe deski tarasowe, aby pasowały. Do precyzyjnych cięć używaj piły ukośnej lub piły tarczowej z ostrzem o drobnych zębach. Pamiętaj, aby podczas tego kroku nosić okulary ochronne i rękawice.
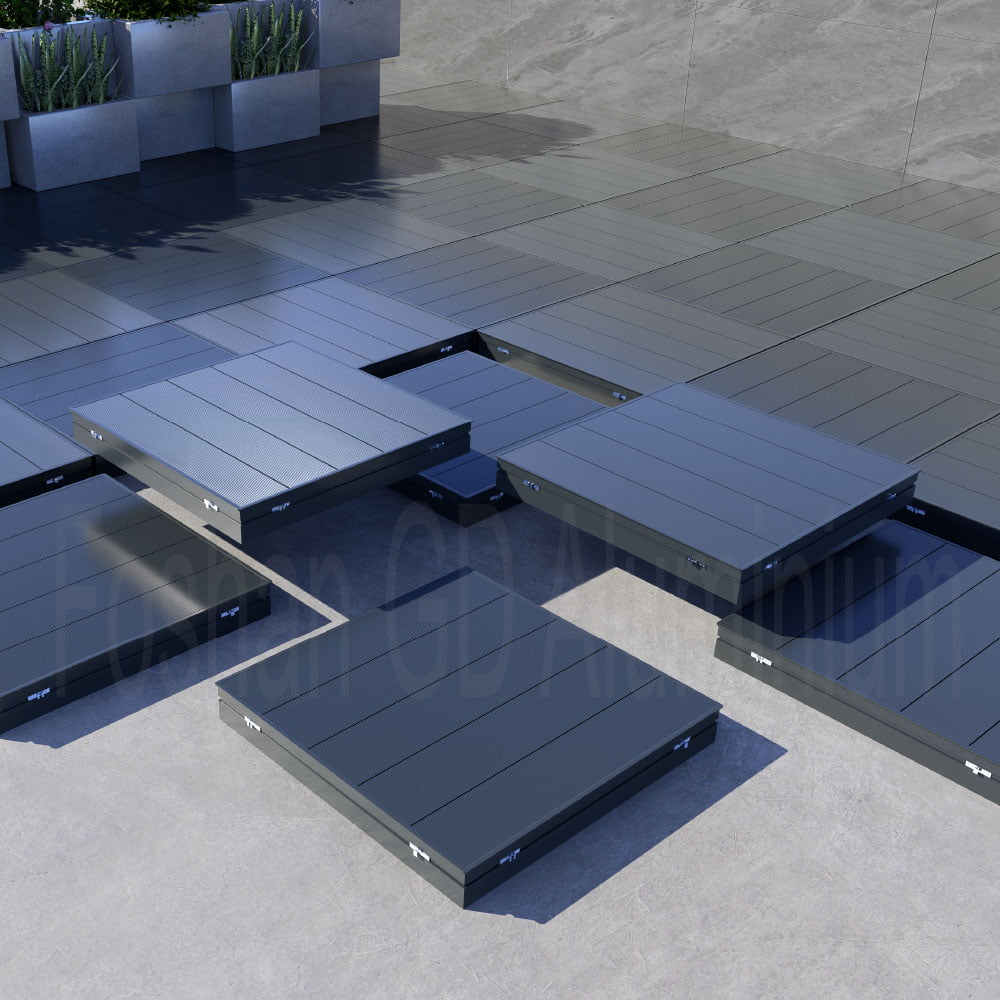
3. Zamontuj taras aluminiowy
Rozpocznij od przymocowania pierwszej deski do ramy tarasu za pomocą śrub ze stali nierdzewnej lub ukrytych łączników. Pamiętaj, aby pozostawić niewielką szczelinę pomiędzy każdą deską, aby umożliwić rozszerzanie i kurczenie się. Kontynuuj montaż pozostałych desek, upewniając się, że są wyrównane i bezpiecznie zamocowane.
4. Zabezpiecz krawędzie
Gdy wszystkie deski tarasowe będą już na swoim miejscu, zabezpiecz krawędzie aluminiową listwą wykończeniową lub listwami wykończeniowymi. Dzięki temu Twój taras będzie wyglądał na wypolerowany i wykończony, a jednocześnie zabezpieczy krawędzie przed wilgocią i zużyciem.
5. Wykończenie
Wreszcie, sprawdź cały pokład pod kątem luźnych śrub lub ostrych krawędzi. Za pomocą pilnika lub szlifierki wygładź wszelkie ostre krawędzie. Dokładnie oczyść taras i nałóż powłokę ochronną lub uszczelniacz, aby zwiększyć jego trwałość.
Wykonując poniższe kroki, możesz zainstalować taras aluminiowy jak profesjonalista. Ciesz się nowym tarasem i jego wieloma zaletami przez długie lata!